|
|
Article ID: 1209
Last updated: 23 Jul, 2019
1. Touch on the Gmail button from the Android dashboard.
2. Now click on Sandwich bars and click on Add account, as shown on the figure below.
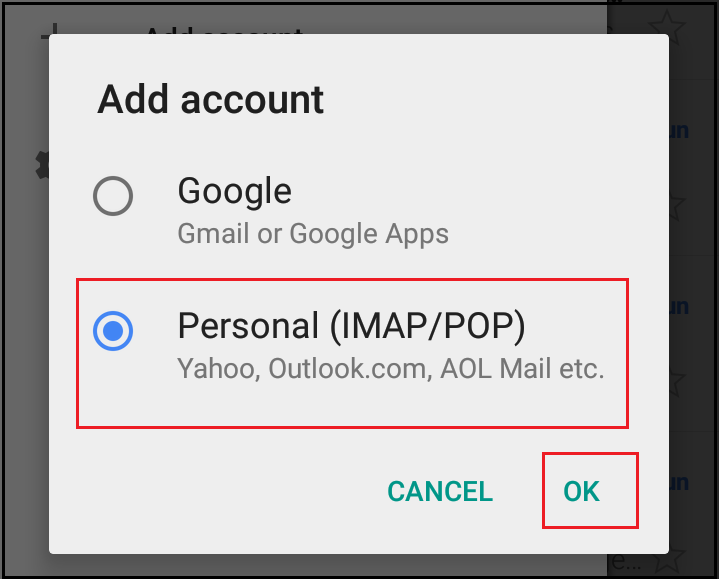
3. Now select the radio button Personal (IMAP/POP) and touch on OK.
4. Now enter the email address that you want to configure.
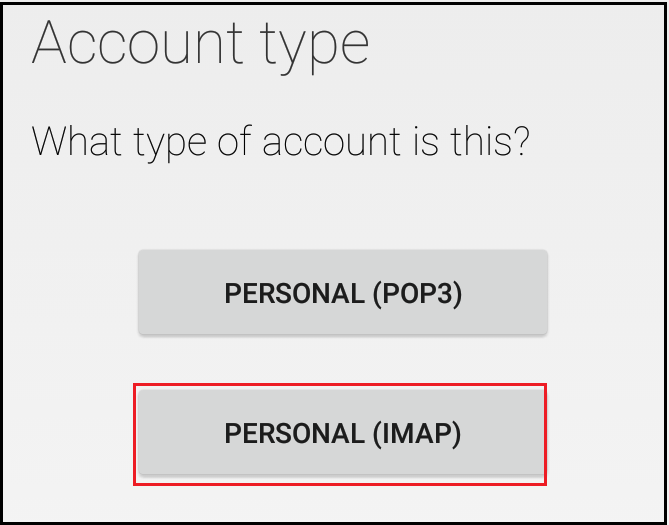
5. Now select the account type PERSONAL (IMAP).
6. Now enter the password of the email address and select NEXT to continue.
7. Now enter the email server address, port and select security type and select NEXT. As shown on the figure below. Below are given POP/IMAP port details: POP3: 110 (995 for SSL)
8. Now configure the SMTP details (mail server address, port and server type) from the server and click on NEXT to continue. Below are given SMTP port details: SMTP: 25, (587 for TLS) and (465 for SSL)
9. Now set the mail synchronizing frequency, below screenshot it is set to 5 min, it means that every 5 min interval application will check new mail has been received on server or not. Now click on NEXT to finish setup.
This article was:
Report an issue
Article ID: 1209
Last updated: 23 Jul, 2019
Revision: 7
Views: 889
Comments: 0
|


Powered by KBPublisher (Knowledge base software)