Follow to steps configuring your Office 365 Exchange Online account with Apple Mail for Mac OS X
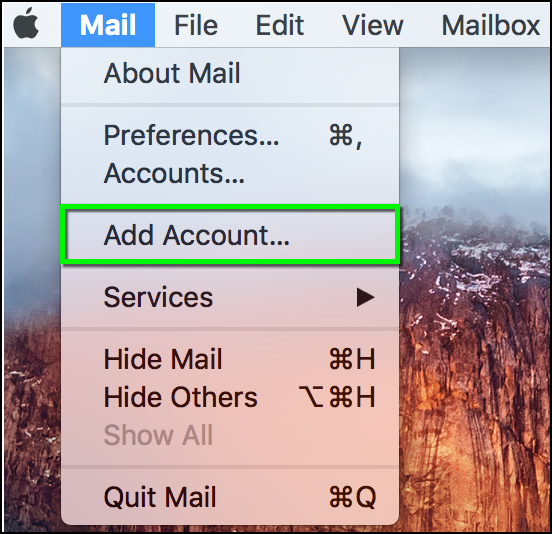
- Open Apple Mail. > From the Mail drop-down menu, select Add Account...
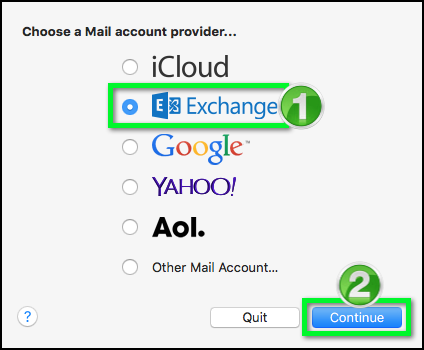
- Select Exchange, then click Continue
- Enter a display name for your account in the Name field.

- For the Email address field, enter your CULoginName@colorado.edu address and in the password field, enter your IdentiKey password. Click Continue.

- Select the apps you wish to sync, then click Done.

- Next, you'll want to add your email alias (e.g. first.last@colorado.edu) to your Account in Apple mail. This will prevent you from receiving your own message when you click reply all in an email message.
- Select the Mail drop down menu, then choose Preferences.

- In order to edit Aliases connected to your account, select the Accounts icon from the toolbar and be sure to select the Exchange account if you have more than one account listed. In the Outgoing Mail Server drop-down menu, select None

- Click the General icon in the toolbar to open a dialog box that will save changes

- Click on the Accounts icon again and you'll see the Alias and Email Address fields will no longer be greyed out. in the Email Address text field, enter any other aliases you have separated by commas

- Alternatively, you can select the drop down in the Alias field, select Edit Aliases, then use the + and - icons to add or edit email aliases. Click OK when finished to save changes.

- In the Outgoing Mail Server drop-down, select Exchange.

- Again, click the General icon in the toolbar to save changes. Close the preferences window.
