Obtaining a Server Certificate from Let's Encrypt Using Certify The Web
Certify The Web (a.k.a Certify) is a Let's Encrypt GUI for Windows, allowing you to request, deploy
and auto-renew free SSL/TLS certificates from the letsencrypt.org Certificate Authority
We need to follow the below-mentioned process to complete the setup of the SSL certificate.
Install Certify The Web ("Certify")
Step:1 Open the URL for downloading Certify:- https://certifytheweb.com
.png)
Step:2 Run the installer as an Administrator

Step:3 Accept the license agreement and then click the Next button:

Step:4 Leave the default installation path then click the Next button:

Step:5 Click the Next button:

Step:6 Click the Install button:

Step:7 Click the Finish button:
 _______________________________________________________________________________________________________________________________
Configure Certify the Web
Step:1 Launch Certify The Web, this message will be displayed, click the OK button:

Step:2 Enter your email address([email protected]) then click the Yes, I Agree option and the REGISTER CONTACT button:

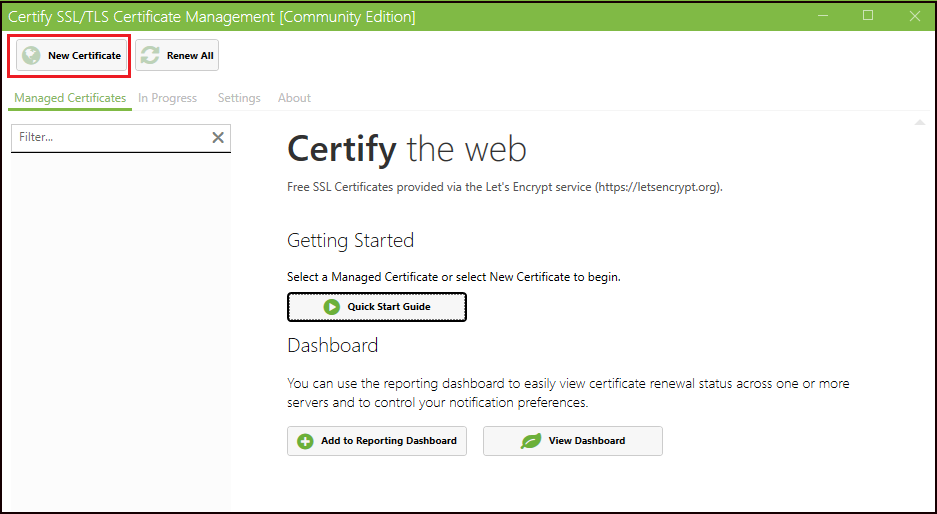
Step:3 The Certify user interface will be displayed. Click the New Certificate button:
Step:4 In the Certificate Domains property sheet:
- Change the Select Website drop-down to show the Default Web Site,
- Add your fully qualified domain name (FQDN) in the Add domains to certificate text box. In our example screenshots,
the certificate will be configured for the FQDN "fileshare.acmedrive.com". - Click the ADD DOMAINS button:

Step:5 Once the ADD DOMAINS button was clicked a new row is added to the property sheet to reflect that
the subject of the certificate will be the FQDN specified.

Step:6 Click the Authorization button to proceed to the next property sheet.
Step:7 The Domain Authorization sheet requires the Website Root Directory. Start IIS Manager and navigate in the
left tree pane to the Default Web Site, then click on the Basic Settings option in the right Actions pane:

Step:8 Select the text in the Physical Path text box and copy it to the clipboard:

Step:9 Return to the Certify The Web app and in the Domain Authorization property sheet:
- Set the Domain Match text box to the FQDN
- Set the Challenge Type drop-down to: http-01
- Paste the text from the clipboard into the Website Root Directory text box:

Step:10 Then click the Deployment button to proceed to the next property sheet.
In the Certificate Deployment sheet:
- Change the Deployment Mode drop-down to Single Site (selected in Domains tab)
- Leave Binding Add/Update as Add or Update https bindings as required
- In the Matching any of section enable Binding hostname not specified (IP only or All Unassigned)
- Leave Auto create/update IIS bindings (uses SNI):

Step:11 Then click the Show Advanced Options check box.
Clicking the Other Options button displays this sheet and the default settings are acceptable:

Step:11 Click the Test button
Step:12 Assuming the test completes successfully click the right arrow to collapse the Test Progress pane:

Step:13 If the test were successful proceed by clicking the Request Certificate button:

Step:14 If the test was unsuccessful, see the Troubleshooting section at the end of this article.
The request process will begin:

Step:15 It should complete successfully:

Step:16 Click the Settings tab, the defaults are acceptable:
.png) _____________________________________________________________________________________________________________________________
_____________________________________________________________________________________________________________________________
Verify the Certificate Installation
Step:1 In IIS Manager, check the bindings for TCP 443. Navigate to the Default Web Site in the left pane and click on Bindings in the Actions pane on the right:

Step:1 In the Site Bindings dialog, select the row for https, port 443, then click the Edit button:

Step:2 You should see that Certify installed the certificate it obtained and bound it to All Unassigned for TCP port 443:

Step:3 Click on the View button.
The certificate information will be displayed. Notice that Let's Encrypt certificate expires in 90 days.
This is OK since Certify will renew the certificate every 14 days by default.
