How to Install & Launch the Fortinet VPN Client (Windows)
Table of Contents :
- Preparation.
- Installing the FortiClient software
- Launching Fortinet VPN Client & Importing Configuration
- FortiClient V7.x Manual Configuration Review (Optional)
Uninstall the existing VPN client and reboot the computer.
Installing the FortiClient software (Windows operating system 32bit/64bit)
Download the Fortinet VPN Client (FortiClient) from the links : https://drive.google.com/file/d/1Xc4U47p-eaxoONzJrkaZQTZr5ziaEVke/view?pli=1
Step 01 : Accept the "License Aement" and click Next.
.jpg)
Step 02 : Click NEXT with default selection .
.jpg)
Step 03 : Click NEXT to Install to the default folder or click change to choose another destination for files to be saved, then Click NEXT to continue.
.jpg)
Step 04 : Then you will see the "Installation Screen " click Install.
.jpg)
Step 05 : After the installation is complete you will see the "Finish Screen" click Finish.
.jpg)
Step 06 : Now restart the computer.
Step 07 : After the successful reboot, Download this Fortinet VPN Client (FortiClient) from the links : https://drive.google.com/file/d/1ZLNoFwRt9rQV-UztzJcot85CYB9QtQss/view
Step 08 : Run the setup, Accept the "License Agreement" and click Next.
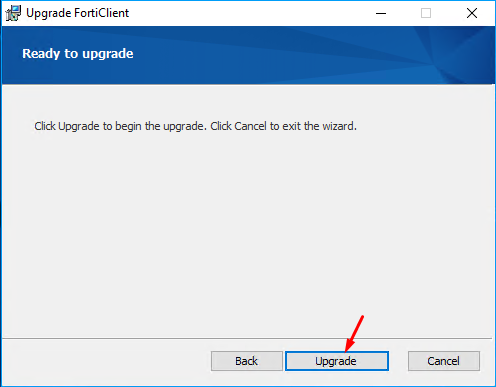
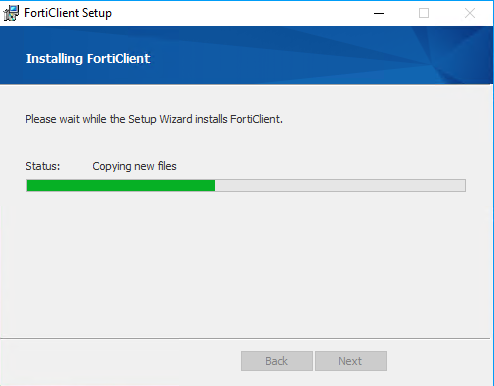
.png)
Installation is now completed.
Launching the Fortinet VPN Client and Importing Configuration into VPN
After Fortinet has been installed, you will see a new icon appear in the System tray or Desktop Icon. Click and open the same
Step 01 : In the FortiClient REMOTE ACCESS section, click "Add New VPN" button at top right and select "Add New VPN" button.
Import the configuration into the VPN and use password as 12345678, update the username with your own, and then proceed with the setup. The configuration file is attached in this KB for both Windows and MacOS; please check the Attachment tab.
(Optional) FortiClient V7.x Manual Configuration Review
Review the configuration manually to ensure that the parameters are configured correctly.
Apply the configuration as per the following settings for FortiClient V7.x.
- VPN: IPsec VPN
- Connection Name: DIADEM VPN
- Remote Gateway: 103.253.125.4
- Authentication Method: Pre-shared key value: P@ssw0rd@12321#
- Authentication (EAP): Save login
- Username: your_vpn_username
- VPN Settings > IKE: Version 2
- VPN Settings > Address Assignment: Mode Config
- VPN Settings > Encapsulation: IPsec over TCP
- VPN Settings > IKE TCP Port: 5500
- Phase 2 > IKE Proposal > Encryption: AES128
- Phase 2 > IKE Proposal > Authentication: SHA256
- Phase 2 > IKE Proposal > Encryption: AES256
- Phase 2 > IKE Proposal > Authentication: SHA256
- Phase 2 > Key Life: 43200 sec
- Phase 2 > Enable Replay Detection: Yes
- Phase 2 > Enable Perfect Forward Security (PFS): Yes
- Phase 2 > DH Group: 21