Diadem Technologies Support Knowledgebase

How To Run Sara Tool For M365 diagnostic with Outlook

Article ID: 1246
Last updated: 26 Jul, 2020

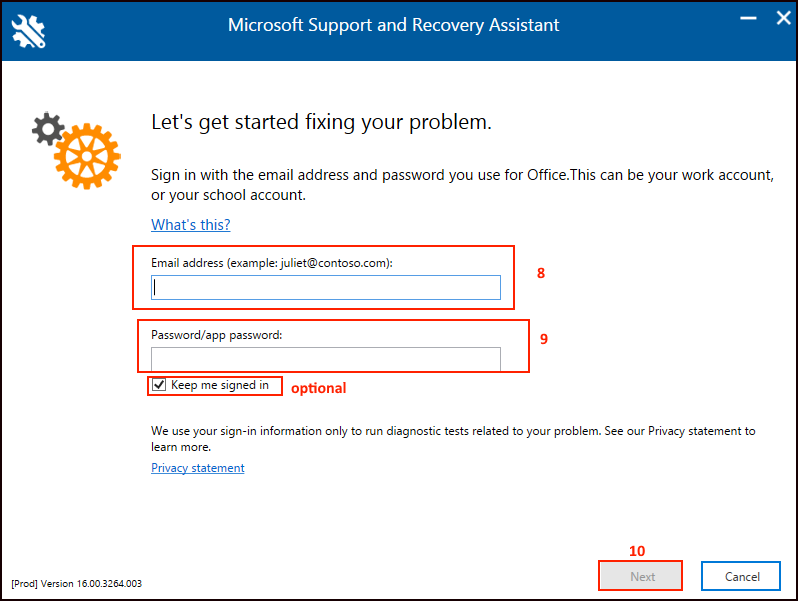
Download and install SaRA from Microsoft's Outlook Support Center site. Open the program. The main screen offers different categories for you to select depending on the problem you're experiencing.Below Mentioned URl will  help you to download Sara-tool.

https://diagnostics.outlook.com/#/

  1. Select the category i.e Outlook.
  2. Click  and check the checkbox beside I am working with Microsoft support personal on this.
  3. Click Next to Continue.

  1. Select the Problem that you are having, here we have selected I am having problems sending, receiving,or finding email.
  2. Click on NEXT to continue.

  1. Now check check box beside Yes, as you are running Sara tool on effected computer.
  2. Click Next to Continue.

  1. Type the email address which you gave configured into your Outlook.
  2. Type the password of your email address.
  3. Click on Next.

  1. Validating user auto discover authentication will run wait till it completes.

  1. Now Sara-tool will find out issue which is existing in your Outlook.

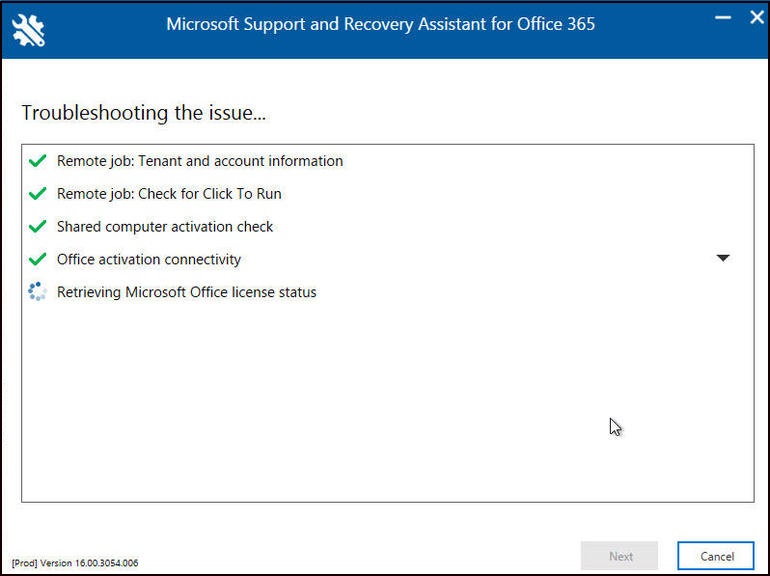
Note : The results will vary depending on the problem and SaRA's own abilities. It may tell you that the problem is resolved. If so, try opening and using the misbehaving application to confirm this. It may tell you that it couldn't find a problem or that it found a problem but couldn't resolve it. In this case, your next step may be to contact Microsoft Support—you can use SaRA to gather data that could prove helpful.

  1. Restart the program and choose the category for Advanced Diagnostics. Select the type of diagnostic to run. Check the box to indicate that you're working with Microsoft support personnel on this issue. Click Next

  1. Confirm that this is the affected computer. Click Next. The tool may ask you to open Outlook or another program. If you can, open the program. If not, click the Skip button. The tool then gathers the necessary configuration data. Click Next.

  1. At the next screen, click on the links to view the generated log files. Click the link to See All Logs to open a folder containing all the log files. Finally, click Send if you wish to send the log files to Microsoft Support for troubleshooting.

At the next screen, click on the links to view the generated log files. Click the link to See All Logs to open a folder containing all the log files. Finally, click Send if you wish to send the log files to Microsoft Support for troubleshooting.

Note : Please make sure the copy of you Outlook license is Original, or else support shall not be provided.

This article was:  
Report an issue
Article ID: 1246
Last updated: 26 Jul, 2020
Revision: 3
Views: 670
Comments: 0